The mixer broke down. So. The siopao bread was not fluffy as it should have been. Still. The baking pan was nearly empty within minutes of the siopaos being served at my friend’s party for her twins.
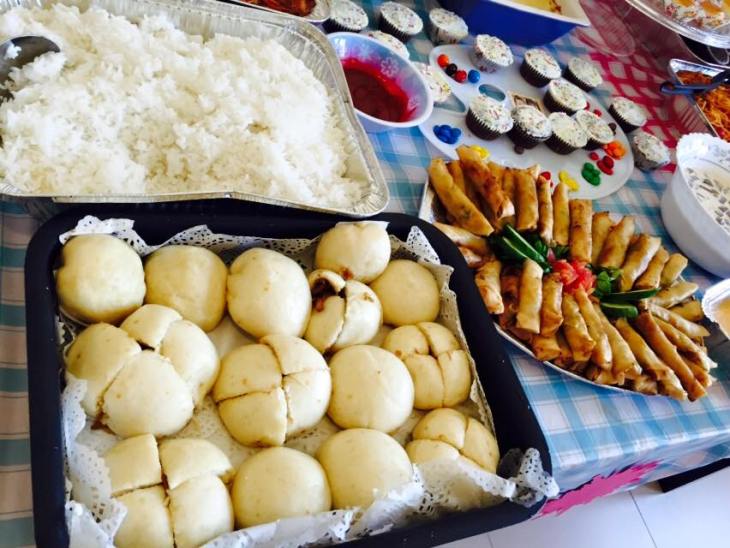
Sigh … Siopao-making is back-breaking work. To this day, I don’t know whether to feel relieved that people eat what I steam or be sad that the work of a few hours is gone within minutes of being served.

Siopao is my favorite comfort food. It is also the only food that I had to ask a friend to teach me. Yup, despite several attempts, I could not get it. There are so many tricks of the trade. And. That is why I am sharing the recipe that I follow below (it’s the one that works, and believe me, I tried several!).
For the filling:
2 roaster chickens
4-8 pcs of garlic
2 medium-sized onions
3-6 tbsp oyster sauce AND 3-4 tbsp brown sugar
OR 4-6 tbsp kecap manis (this is a sweetened soy sauce made in Indonesia)
pepper to taste
1/2 k ground pork (optional – if adding this, add more flavoring)
For the dough:
8 cups flour
1 cup powdered milk
1 cup white sugar
2 tbsp baking powder
3 tbsp (3 sachets) instant yeast
1/4 tsp salt
1/2 cup oil
2-1/2 cups warm water
Procedure for the filling:
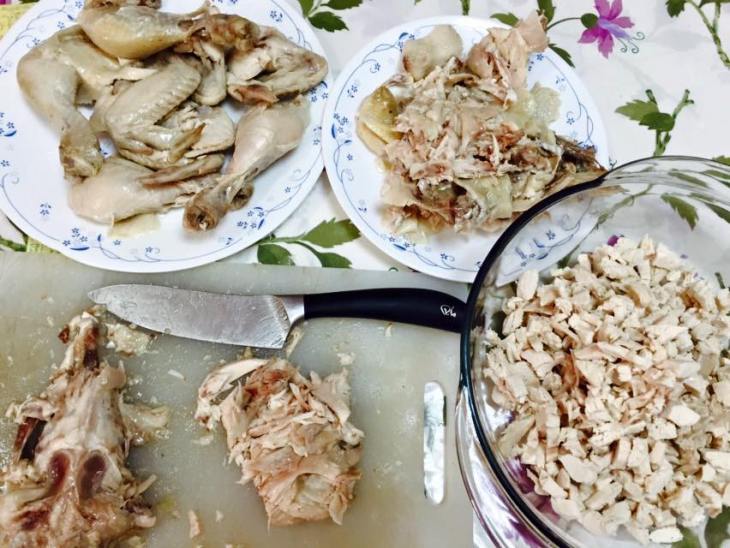
1 Boil the roasters in submerged and salted water until the insides are slightly cooked. (I usually do this step one day in advance.) If adding ground pork, cook ground pork in separate pan so as to let the fat run off.
2 Take out the roasters, let them cool then mince the meat. (I don’t mince the wings and drumsticks. Instead, I fry them for the children to eat.)
3 Note: You may do this step while waiting for the dough to rise.
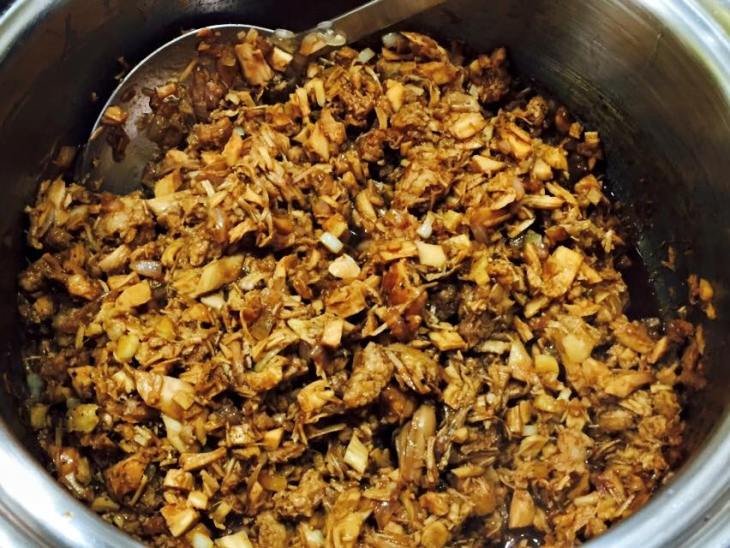
Chop the garlic and onions. Saute the garlic, onions, and chicken meat. Depending on your taste, add the flavorings. You may have to add more flavor if adding the ground pork. It doesn’t matter if you use brown sugar and oyster sauce or kecap manis. What matters is the taste bud of your consumers; siopao bought in the Philippines usually tastes slightly salty and sweet but some people may be accustomed to salty or non-salty food. Just remember: the filling will be encased in bread so it’s okay to make the flavor a bit more intense than usual.
Procedure for the bread:
1 Sift the dry ingredients onto a bowl.
2 In this sequence: add the water and oil and knead using your mixer’s dough hook attachment for a minimum of 20 minutes until the dough is soft, rubbery and does not stick to your hands. Like I said at the beginning, our Panasonic mixer broke down the first time I used it to make siopao. Thus, you have been forewarned. You may have to turn your mixer off for a minute or two after three minutes of continual use to prevent breakdown.
3 Cover the bowl with cling wrap and wait for it to rise for about 40 minutes to one hour. Cling wrap works better than cloth – I cannot overemphasize the point that the dough must not be exposed to air. Thus, when you start kneading, you should not be multi-tasking! Also, when you start making the individual buns, just open up the cling wrap covering a bit, grab a lump of dough quickly then cover up the bowl again.
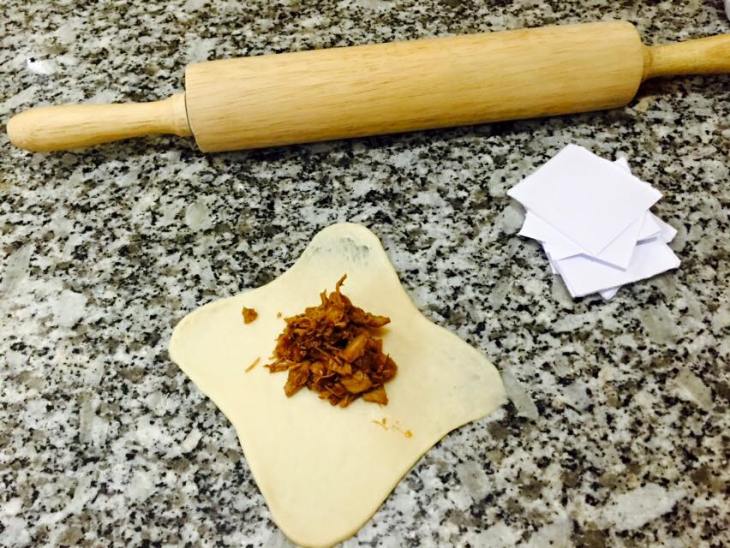
4 When the dough has risen sufficiently (the volume has nearly doubled), grab a lump that will fit into your palm and knead it again. To make punching the air out easier, I use a rolling pin. Roll out the dough into a square, taking care to roll out the four corners thinly and making sure that the center is the thickest.
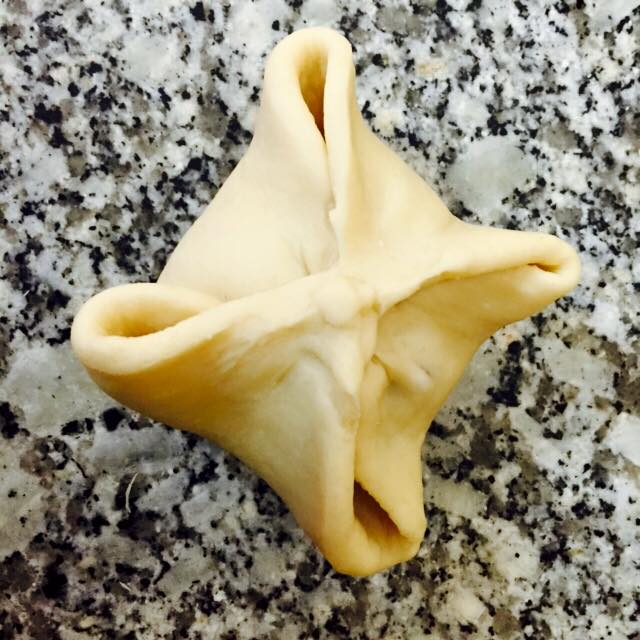
5 Put a tablespoonful of the filling in the center. Take the four corners of the dough, taking care not to let any of the filling get to the sides, and join them in a twist at the center. Take the four corners where the filling is still exposed then join them also so as to make an air-tight and water-tight bun.
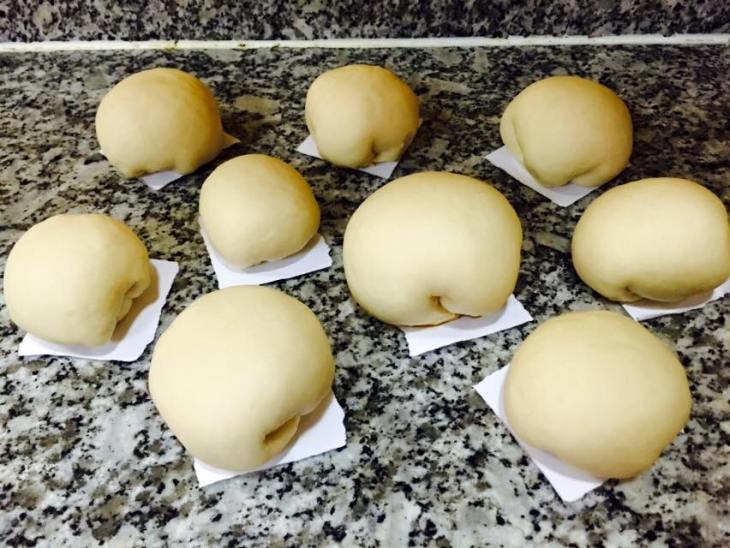
They look so perfect, waiting to be steamed. Whether they will turn out perfect remains to be seen.
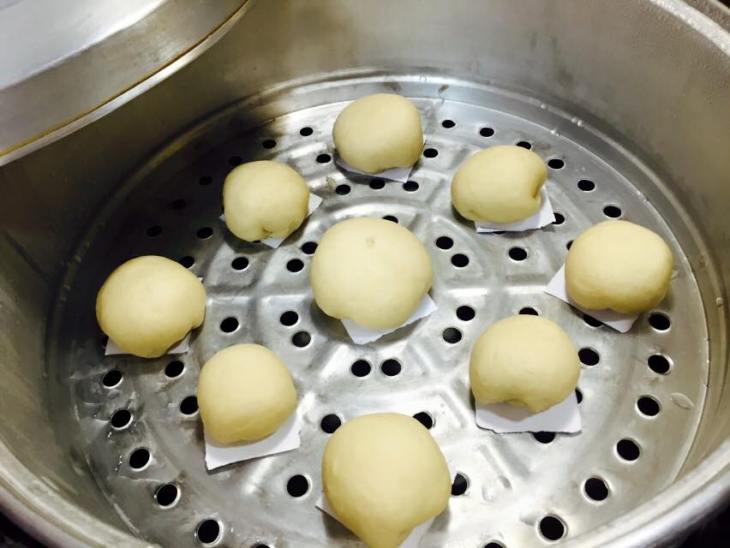
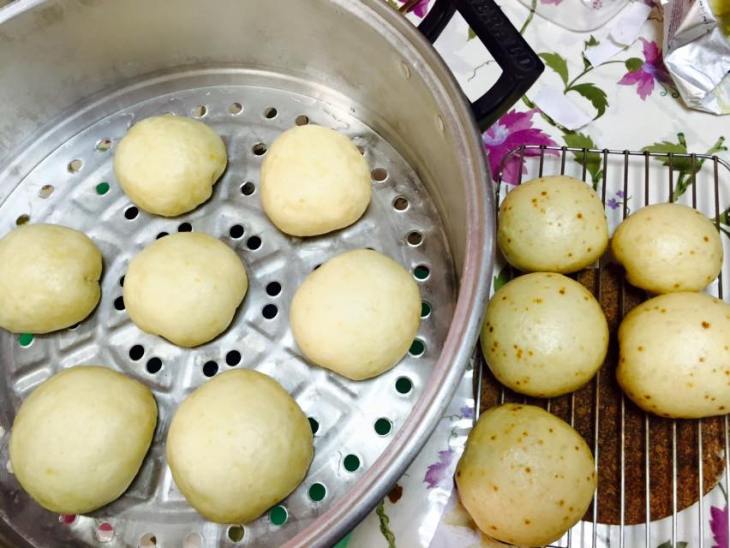
6 After making six or seven buns, place in steamer for 20 minutes. Yeah, I forgot to mention this crucial step at the beginning of step 4. By the time you’ve made six or seven buns, the water in the steamer should be boiling. Take care not to overcrowd because the dough will expand. Take care not to over-steam or little brown dots will emerge (just look at the last photograph below).
7 After twenty minutes, take out of steamer and place in wire rack to cool. Take care not to cool them for more than ten minutes. When sufficiently cooled, place in individual sandwich bags (if they are to be eaten a day or two later) then in the fridge (steam again before eating). If not, they are ready to be served.
I don’t remember the last time I made siopao … it could have been a year ago or six months ago. In any case, the breakdown of the Panasonic mixer – which was bought less than a year ago – brought the hubby to a major epiphany: buying his wife a Kitchen Aid mixer would enable him to eat siopaos* more frequently. He also reasoned that it’s frustrating to the pocket to purchase Made-in-China mixers every year. For once, I just love the hubby’s sense of economy … Siopaos, anyone?
* I learned to make siopaos out of necessity because we live in a land where only halal food is sold in restaurants and because Chow King (whose siopao, according to my critics, is far inferior to mine) is 250 km away.

Yummy!!!
LikeLiked by 1 person